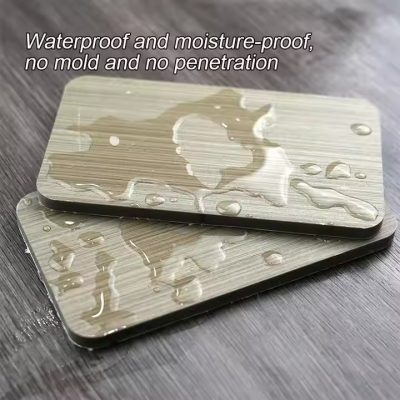
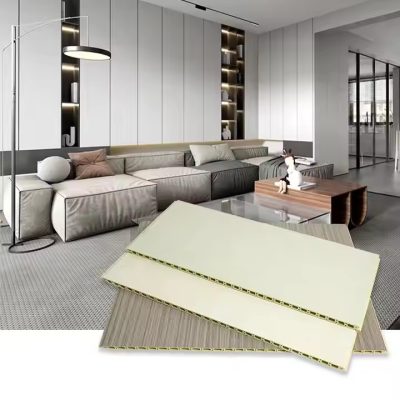
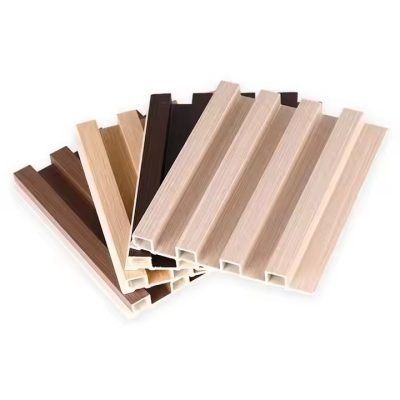
Installing wood veneer panels is a project that can add a touch of elegance and warmth to your home. Here are the general steps for installing wood veneer panels:
1. Preparation
- Measure the Space: Use a tape measure to accurately measure the area where you plan to install the wood veneer panels. This will help you determine how many panels you need to purchase.
- Gather Materials: In addition to the wood veneer panels, you will need adhesive, nails or screws (optional, depending on the installation method), a utility knife, a tape measure, a level, a stud finder, and a hammer or nail gun.
- Prepare the Wall: Ensure the wall is clean, dry, and free of any debris or imperfections. If necessary, repair any cracks or holes in the wall.
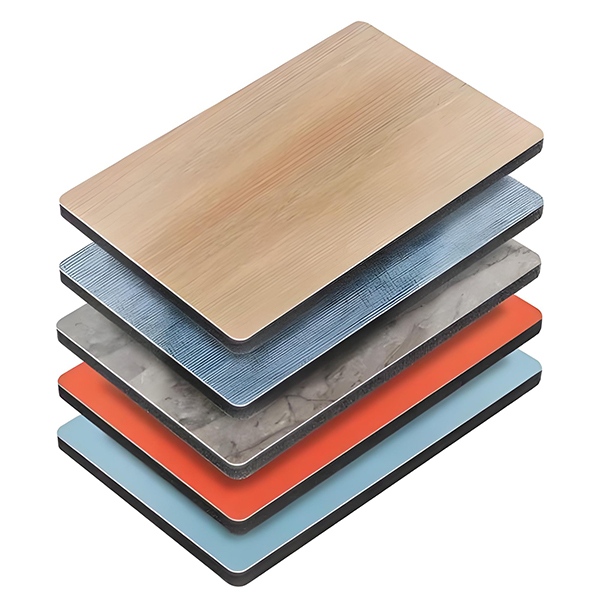
2. Layout and Marking
- Plan the Layout: Determine how you want to lay out the panels on the wall. Consider any natural patterns or grains in the wood and try to align them in a visually pleasing way.
- Mark the Wall: Use a pencil and tape measure to mark the placement of the panels on the wall. This will help you keep the layout straight and even.
3. Adhesive Application
- Apply Adhesive: Apply a generous amount of adhesive to the back of the wood veneer panels, following the manufacturer’s instructions. Use a notched trowel or similar tool to spread the adhesive evenly and ensure good adhesion.
4. Installation
- Position the Panels: Starting at one corner of the wall, position the first panel and press it firmly into place. Use a level to ensure the panel is straight.
- Secure the Panels (Optional): Depending on the installation method, you may need to use nails or screws to secure the panels to the wall. If so, drill pilot holes and insert the nails or screws at an angle to avoid splitting the wood.
- Continue with Remaining Panels: Repeat the process for the remaining panels, ensuring that each one is level and aligned with the previous one. Use a utility knife to trim any excess material around windows, doors, or other obstacles.
5. Finishing Touches
- Remove Excess Adhesive: Use a damp cloth to wipe away any excess adhesive that may have squeezed out from between the panels.
- Caulk Gaps (Optional): If there are any small gaps between the panels, you can use a paintable caulk to fill them in for a smoother finish.
- Touch Up Paint (If Needed): If the panels have been cut or trimmed, you may need to touch up any exposed edges with paint or wood stain to match the rest of the panels.
6. Maintenance
- Regular Cleaning: To keep your wood veneer panels looking their best, regularly clean them with a soft cloth and mild cleaner. Avoid using abrasive cleaners or scrubbing too hard, which could damage the surface.
By following these steps, you can successfully install wood veneer panels that will add beauty and value to your home. Remember to always read and follow the manufacturer’s instructions for the specific products you are using.


