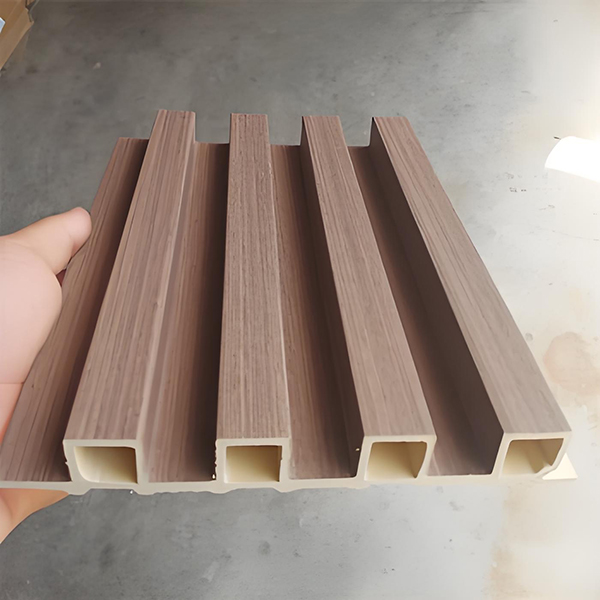
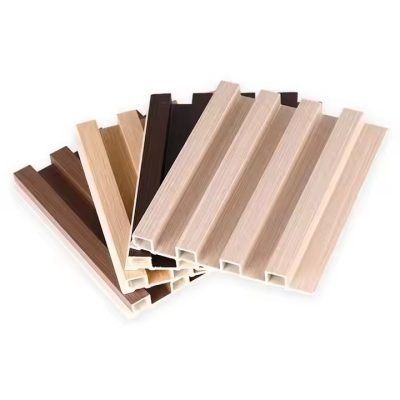
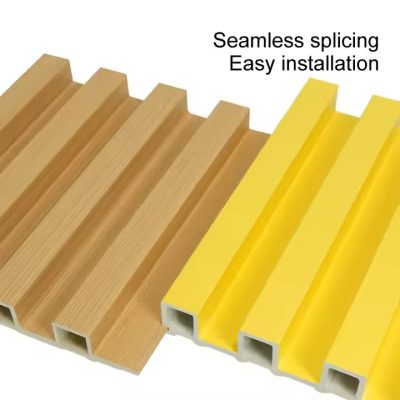
The installation method of the grille background wall usually includes the following steps:
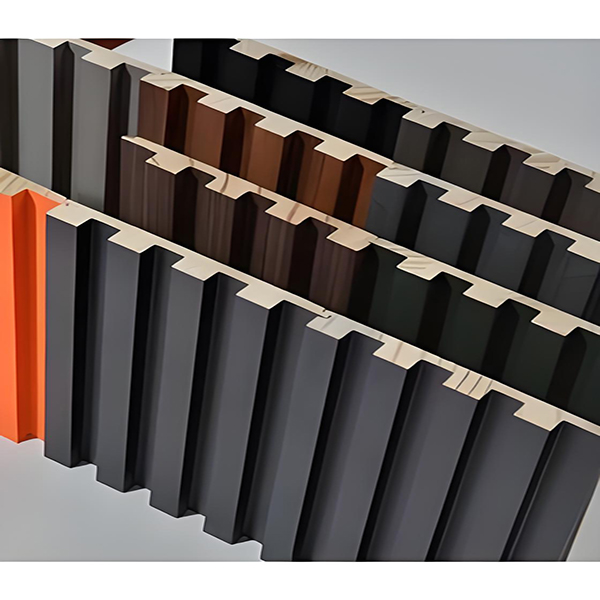
- Preparation
Material preparation:
According to the design requirements, prepare grille plate, single staple plate (if necessary), structural adhesive, double-sided adhesive (optional), gun nails or steel nails, foam adhesive (optional), etc.
Ensure that the size, material and color of the grille plate meet the design requirements.
Wall treatment:
Clean the wall to ensure that the wall is smooth, free of stains and empty drums.
If the wall is not flat, you can use a pine board or other materials as the bottom leveling. - Measurement and cutting
Accurate measurement:
Use measuring tools to accurately measure the dimensions of the wall to ensure that the grille covers the wall completely.
Mark the position of switches, sockets, etc., to make holes in the grille.
Cutting grille plate:
According to the measurement results, the grating plate is cut to the appropriate size and shape using a cutting tool.
Take care to keep the cutting edges flat and avoid burrs and jagged edges.
Three, install the grid plate
Apply structural adhesive:
Apply structural adhesive evenly on the back of the grid plate to ensure that the adhesive layer is moderate in thickness and uniform in distribution.
If double-sided tape is used, you can first paste double-sided tape on the back of the grid plate, and then apply structural adhesive to increase the adhesive force.
Fixed grille plate:
Install the grid plate on the wall one by one according to the requirements of the design drawing.
Use gun nails or steel row nails to fix the grid plate on the wall to ensure that the fixed points are evenly distributed, firm and reliable.
When fixing, care should be taken to avoid damaging the surface and edge of the grille plate.
Deal with patchwork:
The joint between the adjacent grille plates should be handled smoothly and tightly to avoid gaps and misalignments.
Materials such as closing plates or caulk can be used to beautify and treat the joint. - Detail handling
Opening treatment:
Make holes on the grille panel according to the positions of switches and sockets to ensure that the opening positions are accurate and the dimensions are appropriate.
After opening the hole, the hole should be polished and treated to avoid scratching the finger or affecting the appearance.
Finishing work:
Clean up the garbage and stains generated during the installation process, and keep the wall clean.
Check the installation quality and fixing of the grille plate to ensure that there is no loosening and falling off. - Precautions
Safety first: Pay attention to safety during the installation process, wear protective gloves and masks and other personal protective equipment.
Quality check: Check the quality of the grille plate before installation to ensure that there are no problems such as damage, deformation and color difference.
Reserved positions: Reserve switches and sockets during installation to avoid failure to install or use later.
Fixed firmly: to ensure that the grille plate fixed firmly and reliably, to avoid loosening and falling off phenomenon affecting the use of effect and safety.
Through the detailed explanation of the above steps and the reminder of precautions, I believe that you can easily complete the installation of the grille background wall.
