The construction process for wood veneer siding usually includes the following steps:
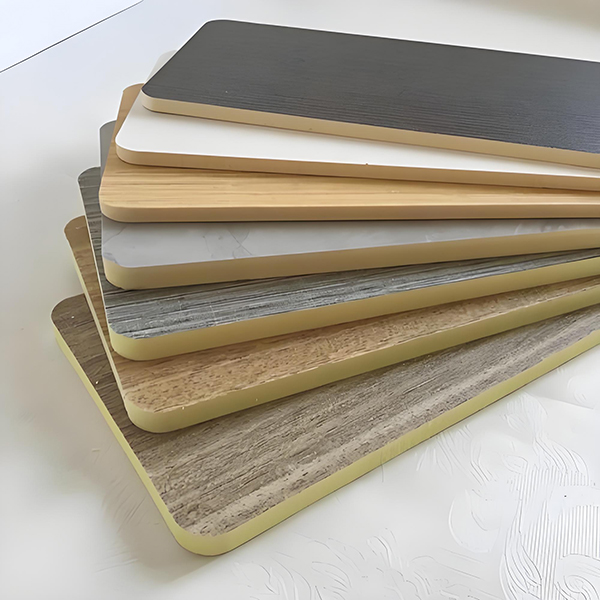
First, construction preparation
Materials: Prepare wood decorative panels, wooden keels, base boards (such as woodworking boards and nine-inch boards), moisture barrier materials, glue (such as white latex and strong glue), metal pendants (such as dry hanging), and closing strips.
Tools: Prepare the air pump, air nail gun, ink fountain, thread, electric hammer, woodworking saw, planer knife, roller brush, laser infrared theodolite and other tools.
Second, grass-roots treatment
Wall treatment: Ensure that the wall is smooth, no empty drums, no cracks, and remove dust, oil and other debris on the wall.
Keel installation: According to the design requirements, the wooden keel should be installed on the wall, and the keel should be treated with fire prevention, anti-corrosion and anti-moth. The spacing of the keel should be determined according to the specifications and weight of the wood veneer, generally not more than 400mm.
Moisture-proof treatment: Brush moisture-proof layer on the base plate or keel to prevent moisture deformation of the wood.
Three, wood decoration panel installation
Cutting and chamfering: According to the wall size and design requirements, cut the wood veneer and polish the edge with the planer knife. When natural seam splicing is left, it is necessary to repair the side of the plate with the same color repair paste to make the profile beautiful and uniform.
Base plate installation: Install the base plate on the base keel to ensure that the base plate is smooth and firm.
Veneer paste: evenly apply glue to the back of the veneer and the base board, and then paste the veneer. When pasting, press the wood veneer to squeeze out air and make it stick more tightly.
Fixing and adjusting: After pasting, fix the wood veneer with nails or metal pendants. For larger wood panels, dry hanging can be used. During the installation process, the position and Angle of the wood veneer should be adjusted at any time to ensure that the installation is smooth and vertical.
- Closing and detail processing
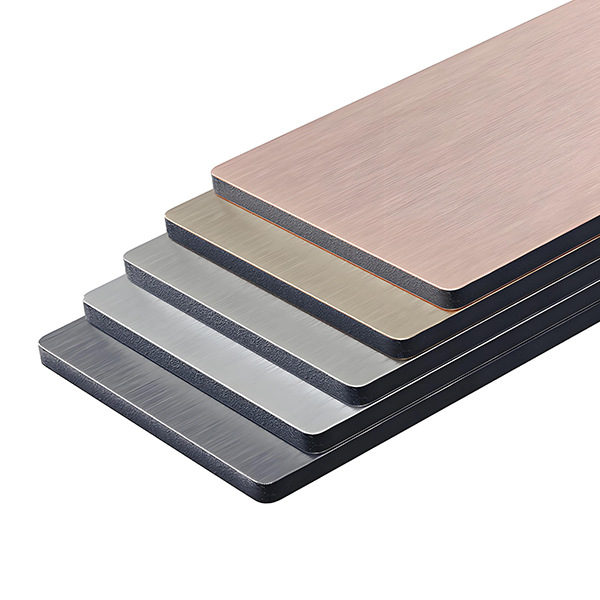
Closing strip installation: According to the design requirements, install metal closing strips to solve the problems of wood veneer splicing gaps and chamfering. The color and material of the closing strip should be in harmony with the wood veneer.
Nail eye repair: Repair the nail eye with the same color repair paste to ensure that the surface of the wood veneer is smooth and beautiful.
Remove the protective film: After the installation of the wood veneer panel, remove the transparent protective film in time to prevent the uneven color caused by oxidation. - Precautions
Temperature adaptation: the decorative board should enter the construction site in advance, adapt to the temperature of the construction site, and avoid deformation caused by excessive temperature difference.
Protection of finished products: During the construction process, it is necessary to strengthen the protection of finished products to avoid damage to the corners.
Construction environment: Ensure that the construction environment is dry and ventilated to avoid moisture or deformation of wood.
In summary, the construction process of wood veneer wallboard includes construction preparation, base treatment, wood veneer panel installation, closing and detail treatment, and matters for attention. During the construction process, it is necessary to operate in strict accordance with the construction specifications and design requirements to ensure the construction quality and safety.


